DIY Remodeling Our Home Office

We’ve been working at home for about eight months now and figured it was time to remodel the office a bit. We were looking for a change in environment and feel - something a little more refined and cozy as we hadn’t properly setup the room since moving into our new home.
the Vision
The vision for the remodel was inspired by the wood beams in our living room ceiling, which leads to our office. I wanted to add some detail to the office walls to provide some interest when viewing from the living room (as shown below). As my husband will tell you, I also have a lot of books. I wanted something warm, but airy. My color palette was centered around natural warm woods, whites, metallic brass and silver accents. I knew we would have several colors from the books and pieces on the shelves so a neutral palette could add balance rather than too much detail.

setup & prep
So we took a Friday off and started by moving all the furniture to the center of the room. We bought paint cover film to protect our desks and lined the floors with craft paper. After removing all the outlet covers, we used joint compound to clean up small cracks and holes in the walls.

gathering supplies
I ordered these brackets from West Elm during one of their sales. For the wood, we searched for red or white oak at a number of lumber yards until finally discovering the perfect 1X10 pieces at a local moulding company. 1x10 really means the planks are about 0.75” thick and about 9.25” wide.


paint, fixtures, and shelf positioning
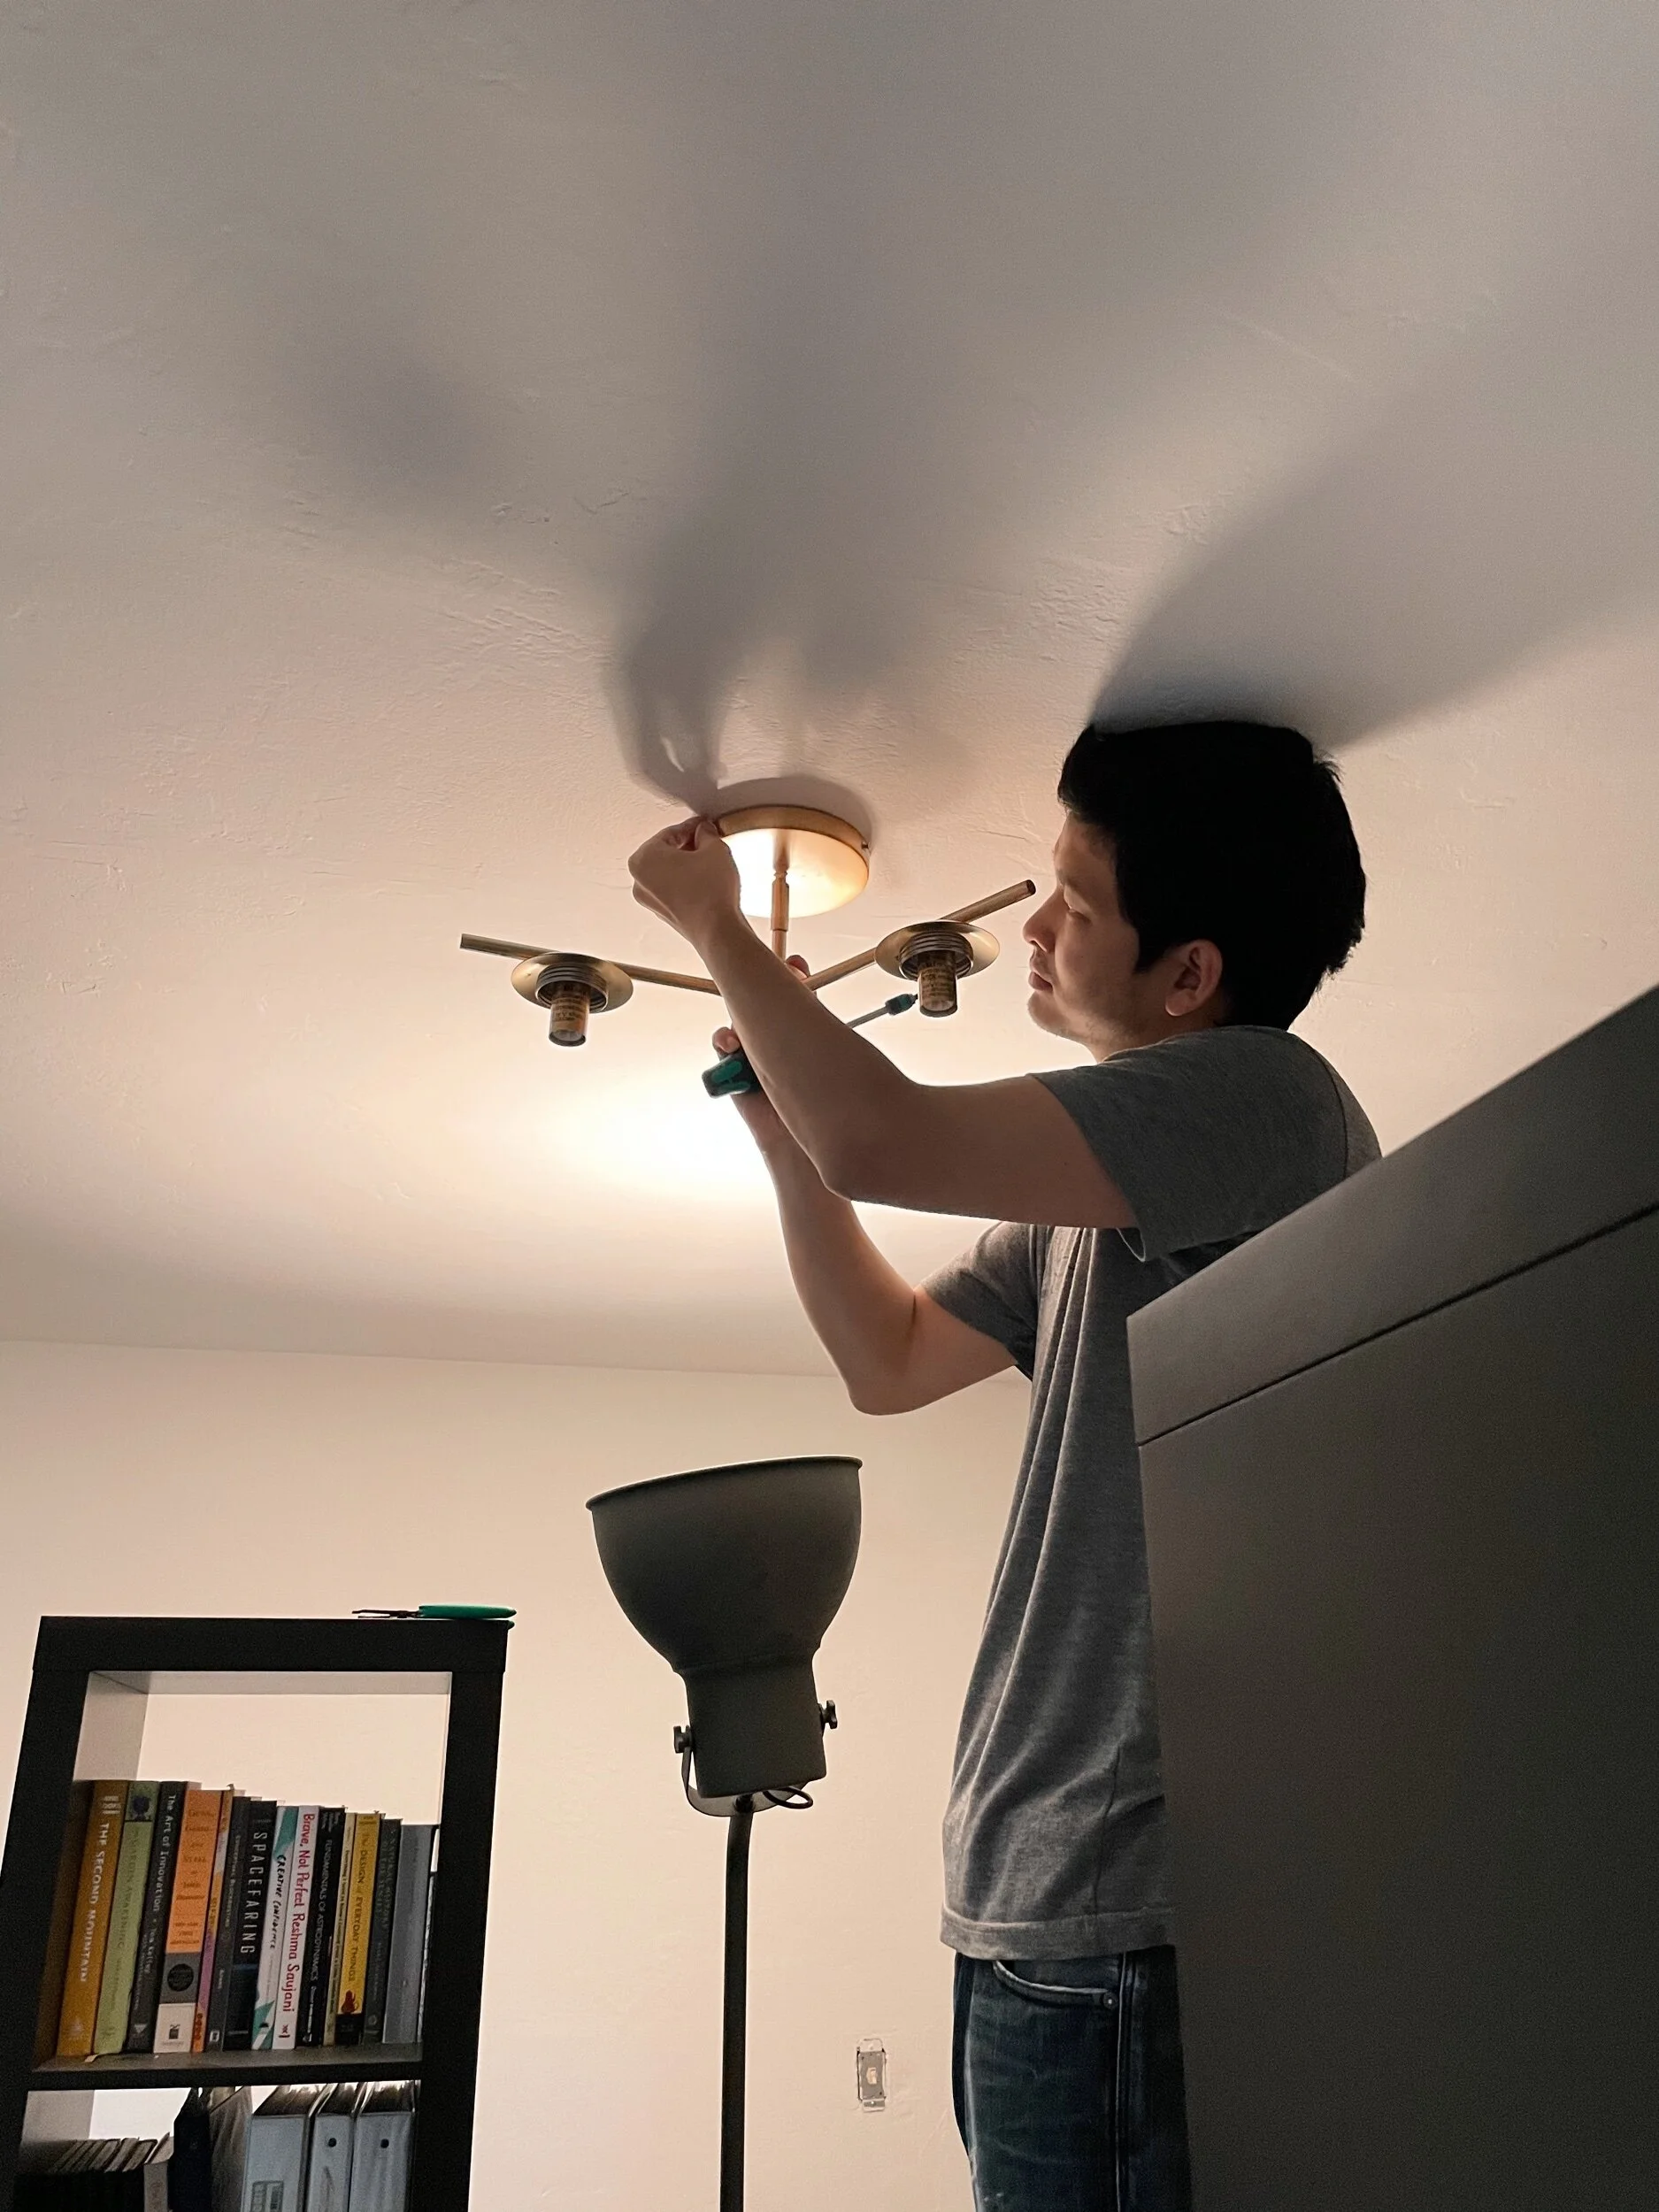
After TSP-ing the walls and two coats of Benjamin Moore Simply White paint, we started installing the light fixture. I bought a new light fixture here, also from West Elm. Amazing how a simple fixture can help upgrade the look of a room. We bought the wrong light bulbs unfortunately, so we didn’t end up finishing this until another Home Depot run.
Because no walls are truly straight in a home, we used a laser level mounted on a tripod to start marking out where the brackets needs to go. This was probably the most exhaustive part of the remodel.

Here are the first mounted brackets on the right side:

cutting shelves to size & installation
We started here by placing the long planks of wood onto the mounted brackets and marked an initial length to cut (with some buffer). Not all the side walls were perfectly straight so we custom cut each plank, leaving about 1” from the door trim. For the ends up against the side walls, we custom cut off “triangles” so that the shelves would sit flush against the side walls. We used a miter saw to make clean cuts, but some lumber yards may also be willing to cut for you at a cost.


The top shelf was perhaps the trickiest. We made the top in three sections and used pocket holes with screws to attach all three planks together. Here’s the pocket hole jig we used, which is fairly simple to use. We clamped the planks together before screwing together. If you have any extra gaps, touch up with a little wood filler and sand off.


Tada! The finished result below (please ignore our active messy desks):

Hope you enjoyed this post. Please leave a comment if you have any questions.