Getting Started Baking Our First Sourdough Loaf

Now that we’re home, along with most of the world, we decided to try our hand at making sourdough. I’ve always wanted to learn how to make bread and now seemed like as good as an opportunity as any. So I thought I’d share a bit of our journey, some helpful links, and tips we found along the way in case you’re thinking about making sourdough too.
what you need to get started
While perusing through Instagram one day, I discovered that one of our favorite bakeries, Thorough Bread and Pastry is selling starter kits for pickup & delivery. We purchased:
One 5lb bag of bread flour (out of stock), 10lb bag of bread flour
Scraper (out of stock), metal scraper
Banneton basket (also available on Amazon here, out of stock), another option
They also sell nuts, seeds, and whole wheat flour. If you’re not able to obtain a starter nearby, we also found instructions online to make your own here, though it can take around two weeks.
Other recommended equipment:
Dutch oven
Scale
Spatula
Rice Flour (for dusting)
Parchment paper
Knife (for scoring)
starter maintenance & schedule
The starter is like a pet. It needs to be fed on a regular schedule. If you’re not baking bread often (like us), you can leave the starter in the fridge for up to a week between feeding. Otherwise, if you leave it out, you’ll need to feed about twice a day. What do I mean by feeding? Check this link out.
If from the fridge, take the starter out and let it sit for about two hours at room temperature before feeding. Then remove about half your starter (this is your discard). Weigh the remaining starter. Then feed your mixture its newly reduced weight, comprised of 50% warm water + 50% flour. Mix well. If you don’t discard, your starter will continually double in size. But don’t throw away your discard! I hear they’re great for making pancakes and waffles.
sourdough recipe
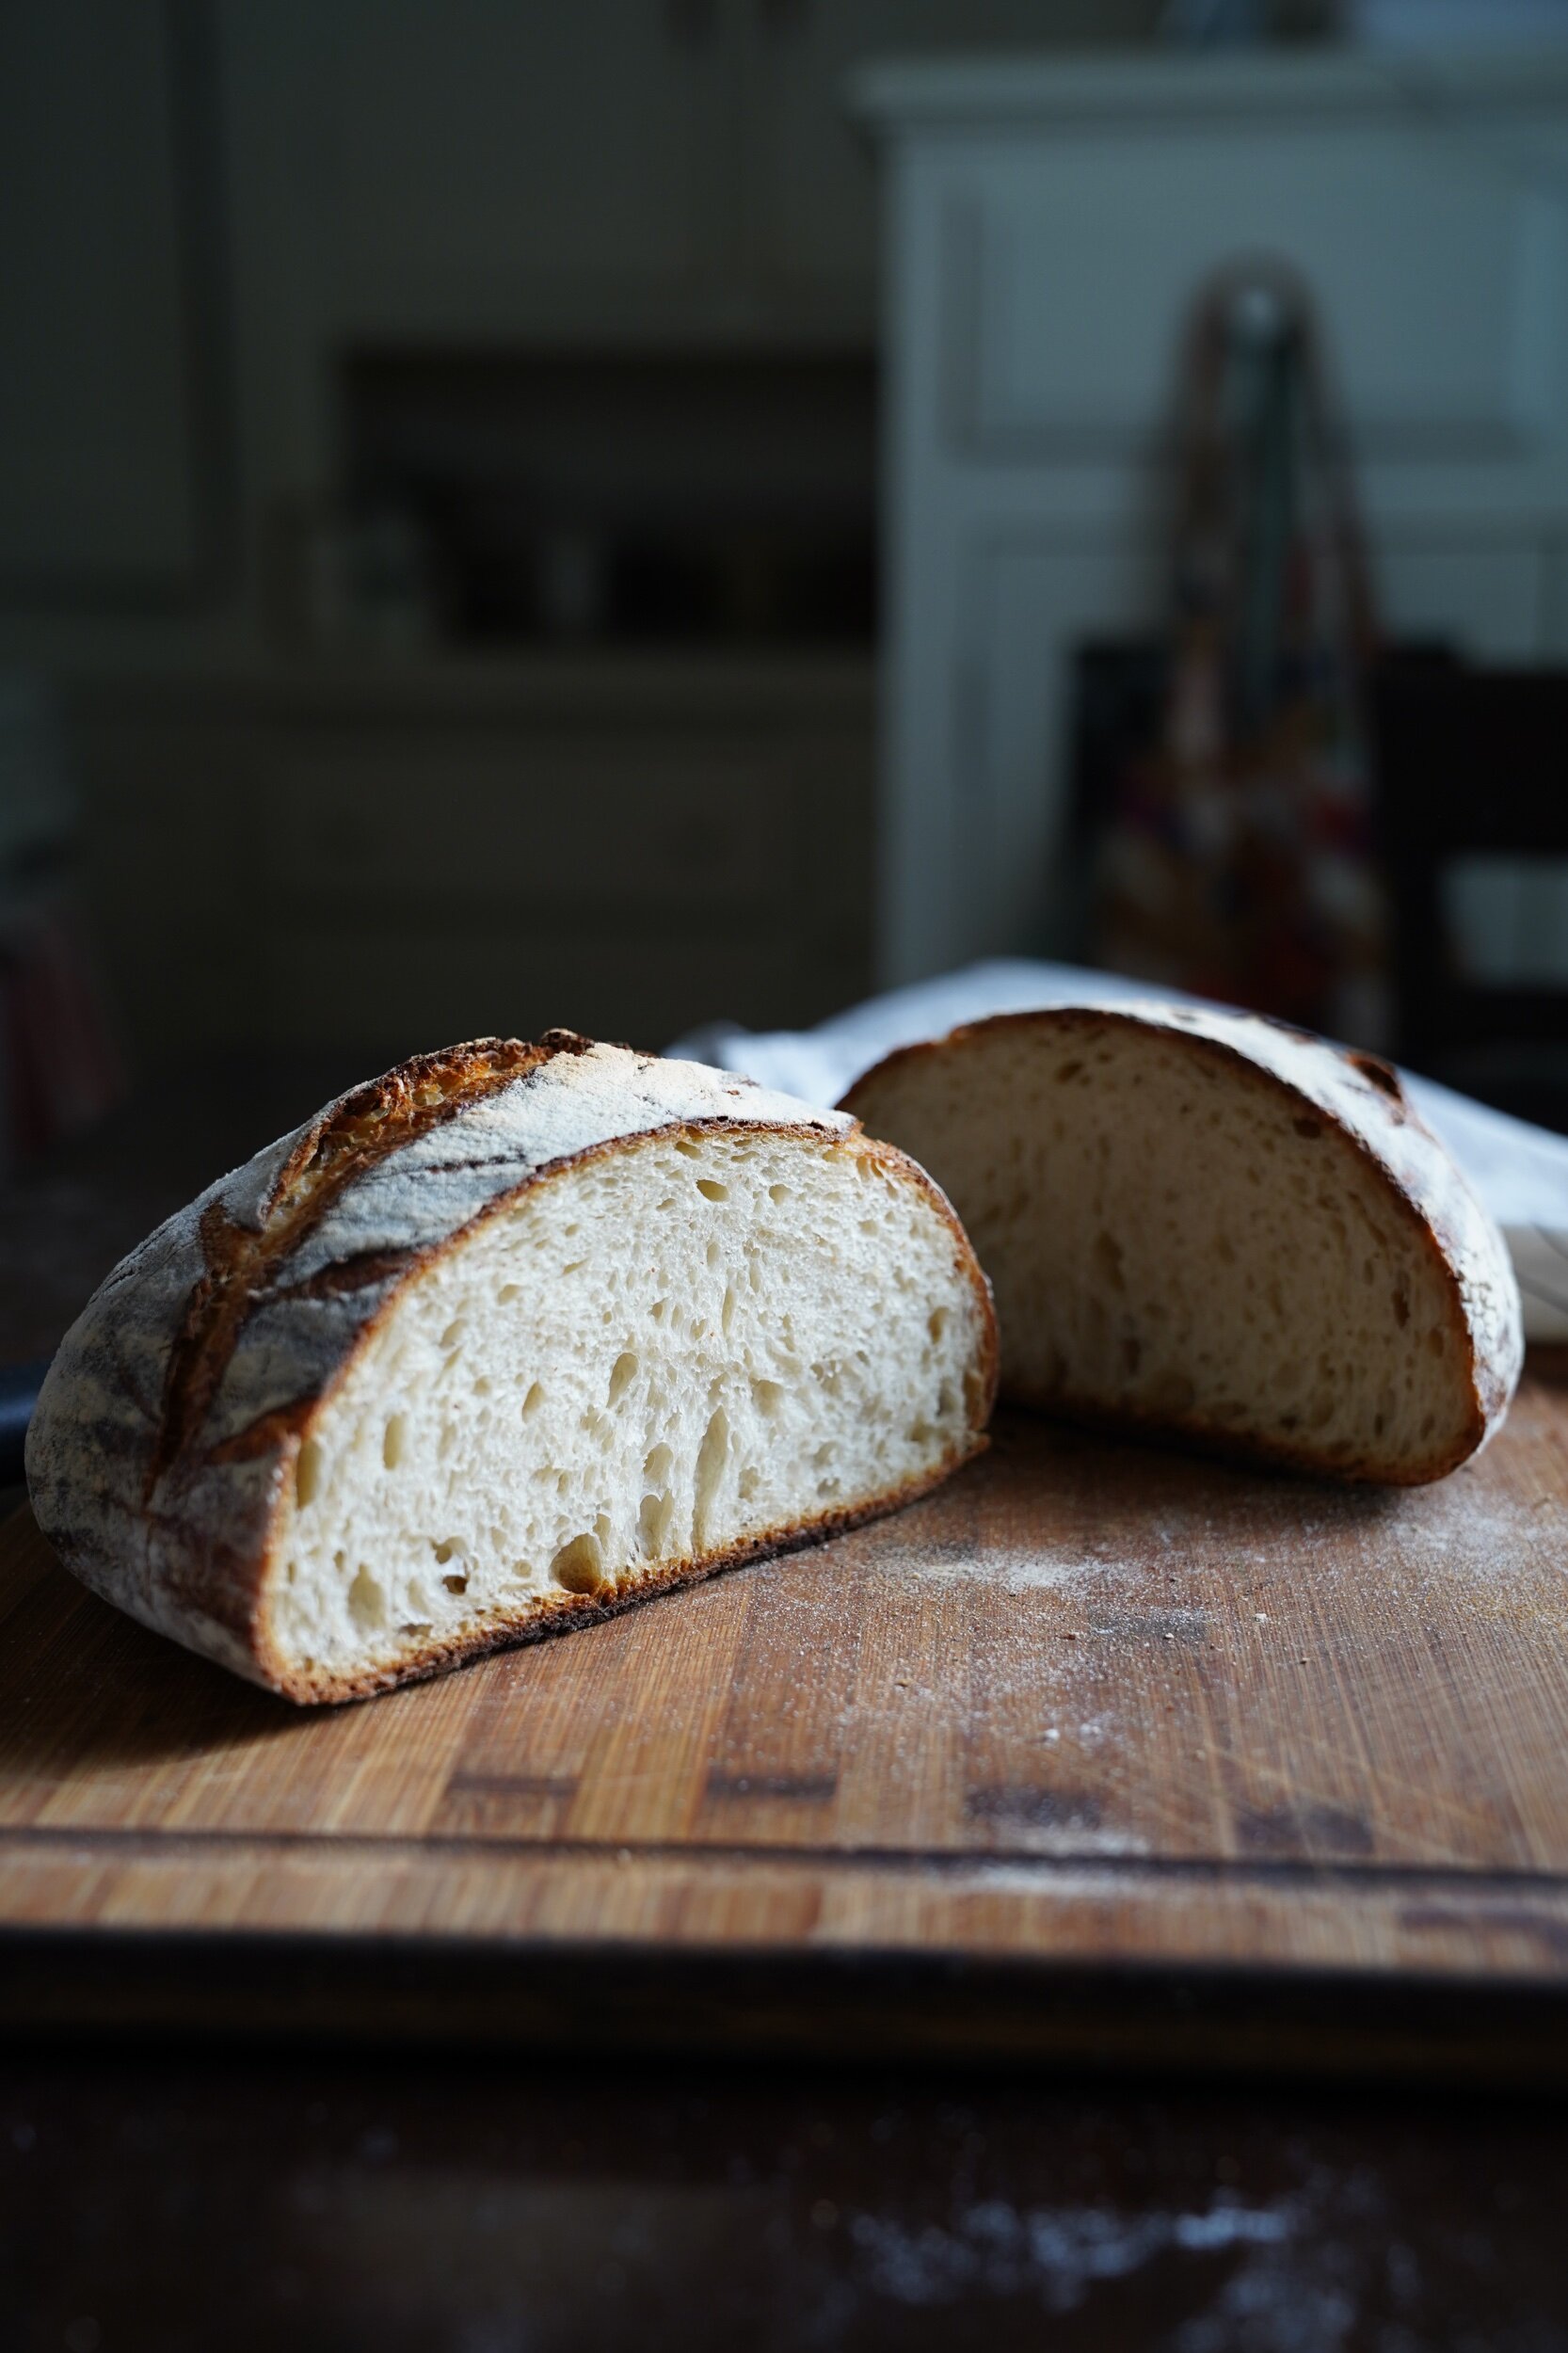
We tried this Weekday Sourdough Bread recipe from Bread Scheduler with great results. We loved the detailed schedule breakdown of steps, which is especially helpful for beginners. Protip though - start early in the day to be able to eat your loaf. This process takes about 24 hours. We substituted the rye flour with bread flour since we didn’t have any. Loved the flavor, moist on the inside, and nice crust.


Preparing for baking
Once our dutch oven reached the recommended 500F, we lightly dusted the top of our dough with rice flour before flipping it onto a sheet of parchment paper. We dusted the other side with rice flour before scoring the top with a kitchen knife. I’m hoping to learn more about scoring, but a lesson learned here is that the depth of cut really matters. If you’re making a pattern, try to maintain consistency.

You can choose to brown the crust to your liking. After the main bake, we checked every two minutes at 450F until the bread turned a golden brown.

What I didn’t realize is that the loaf needs to “rest” another two hours after baking before cutting into it. Otherwise, I’ve read it can deflate a little. So we tucked this under a cloth overnight since we started the process so late.

But, we enjoyed a lovely breakfast, breaking bread together under the glow of morning light streaming through our kitchen window. We mixed a bit of balsamic vinegar, olive oil, and fresh pepper for dipping. Not a bad way to start the day. Hope this helps and good luck on your baking!
